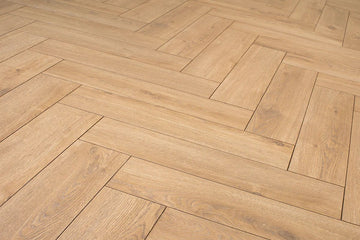
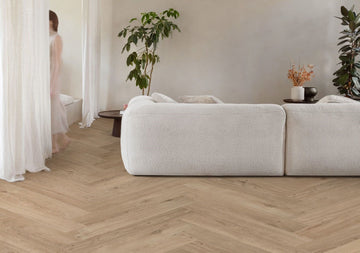
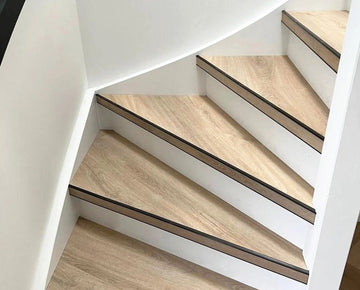
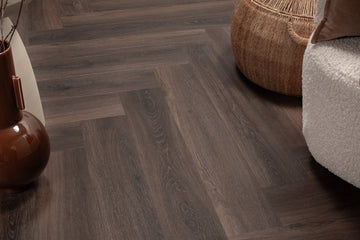
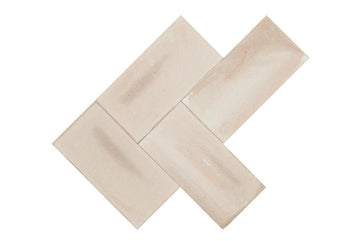
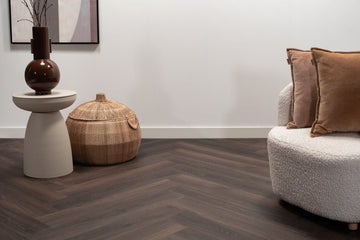
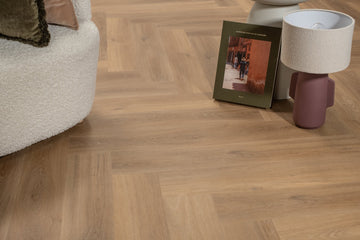
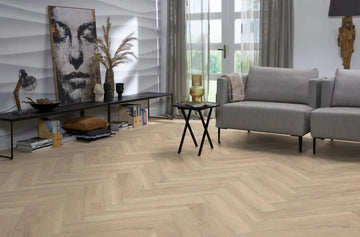
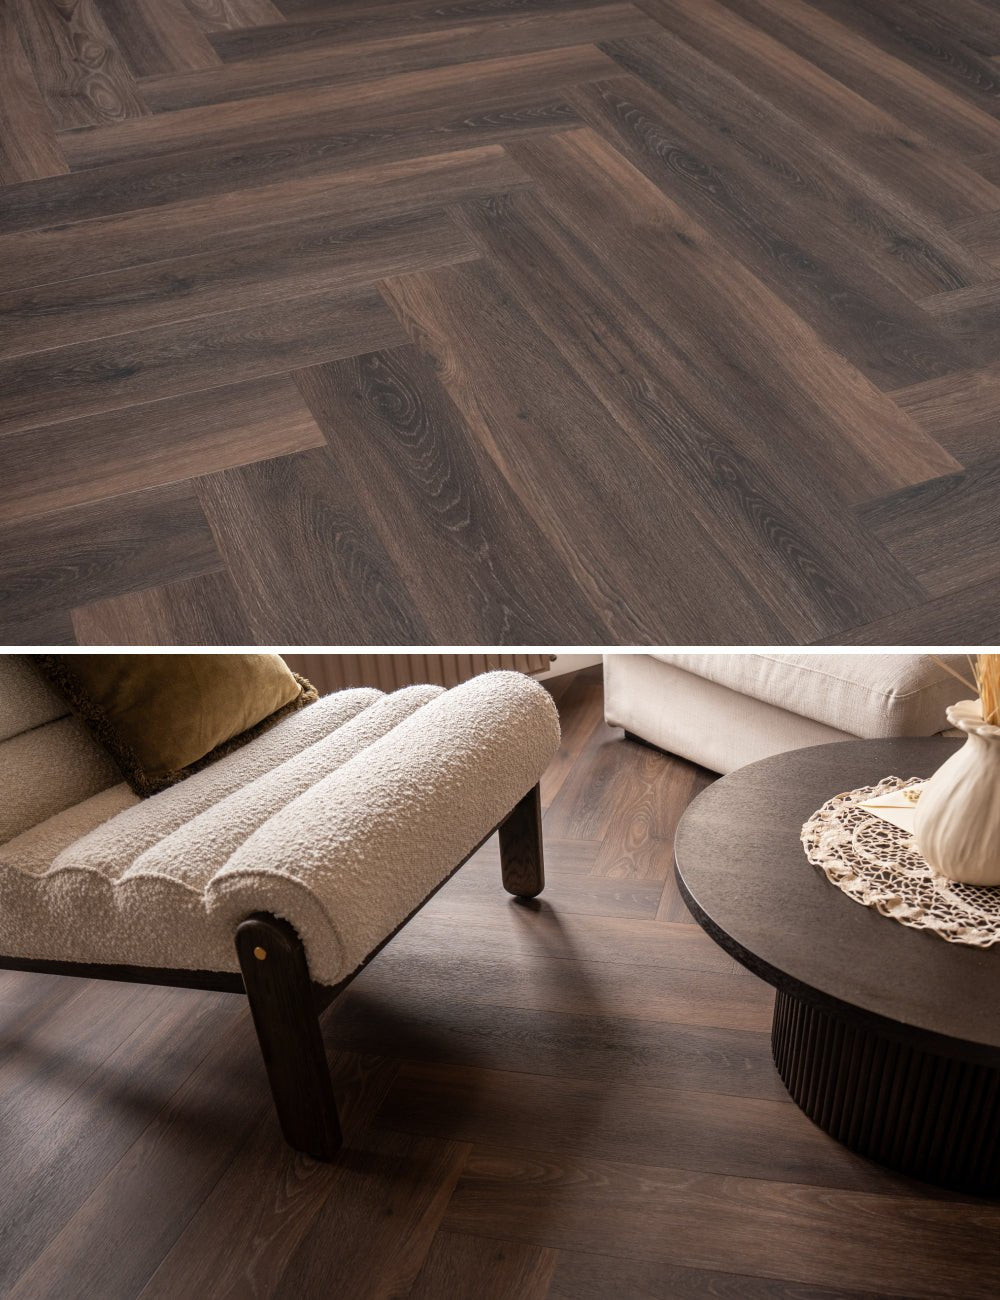
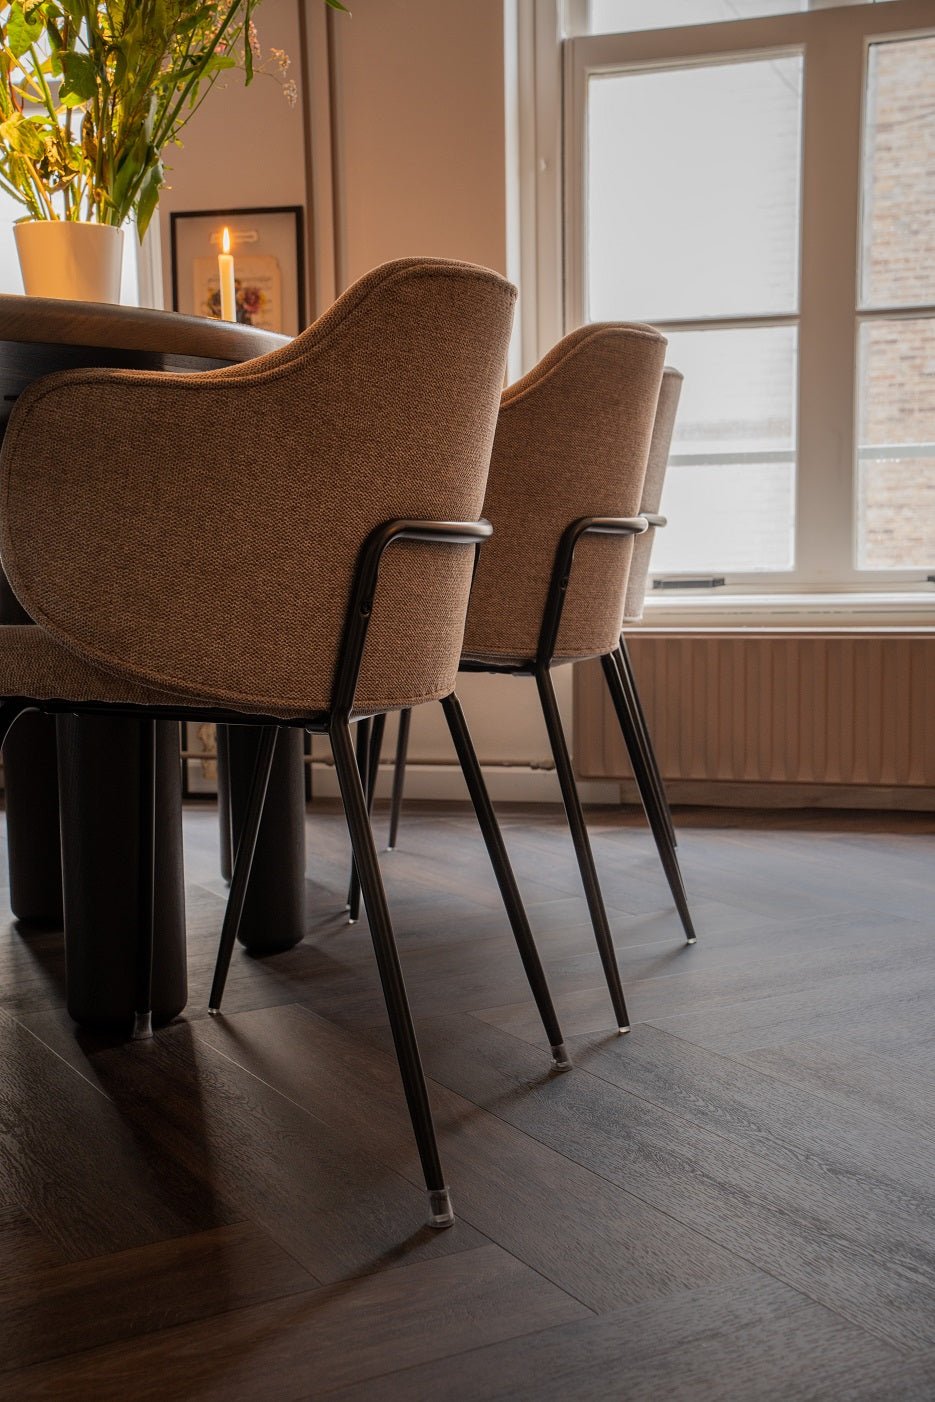
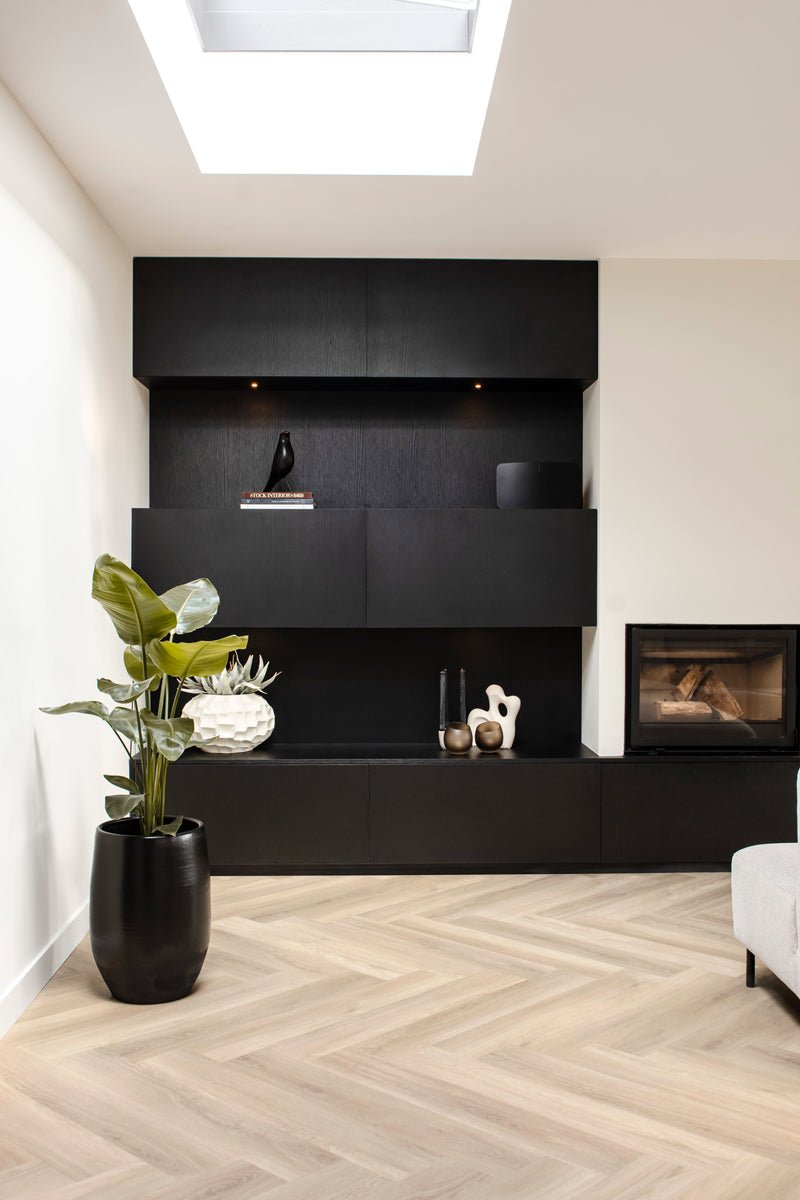
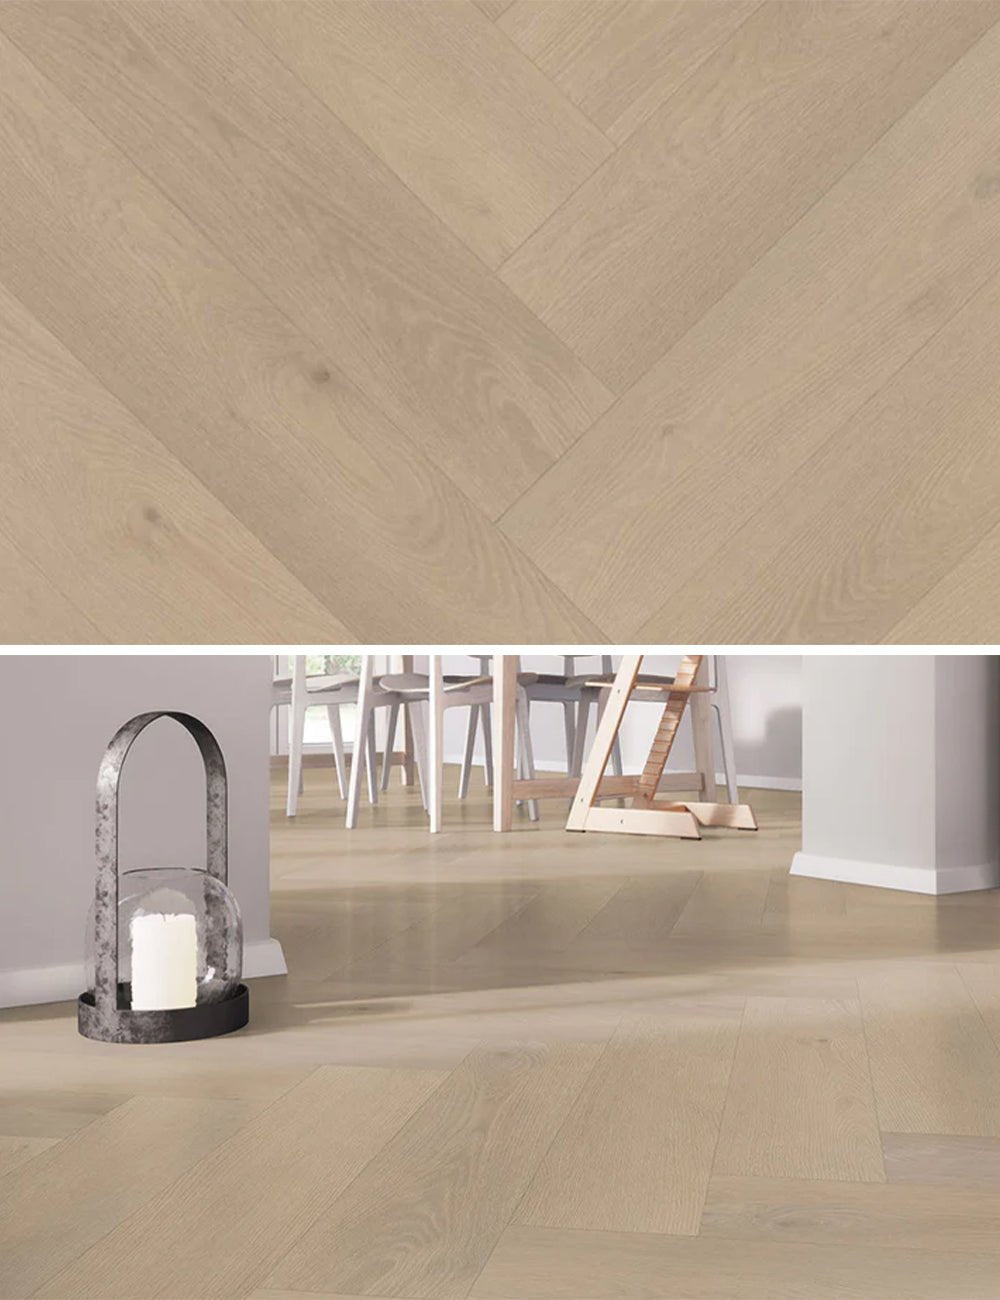
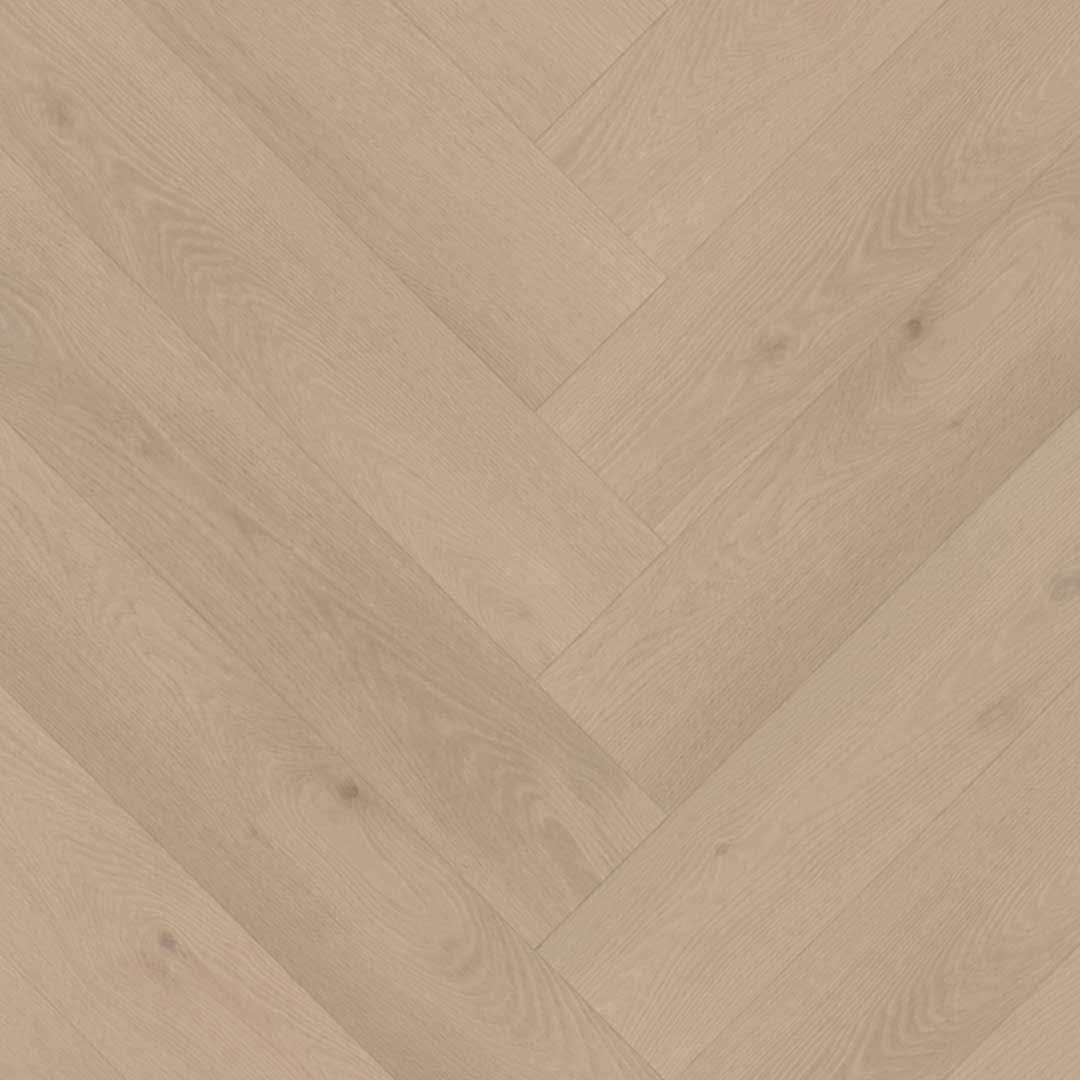
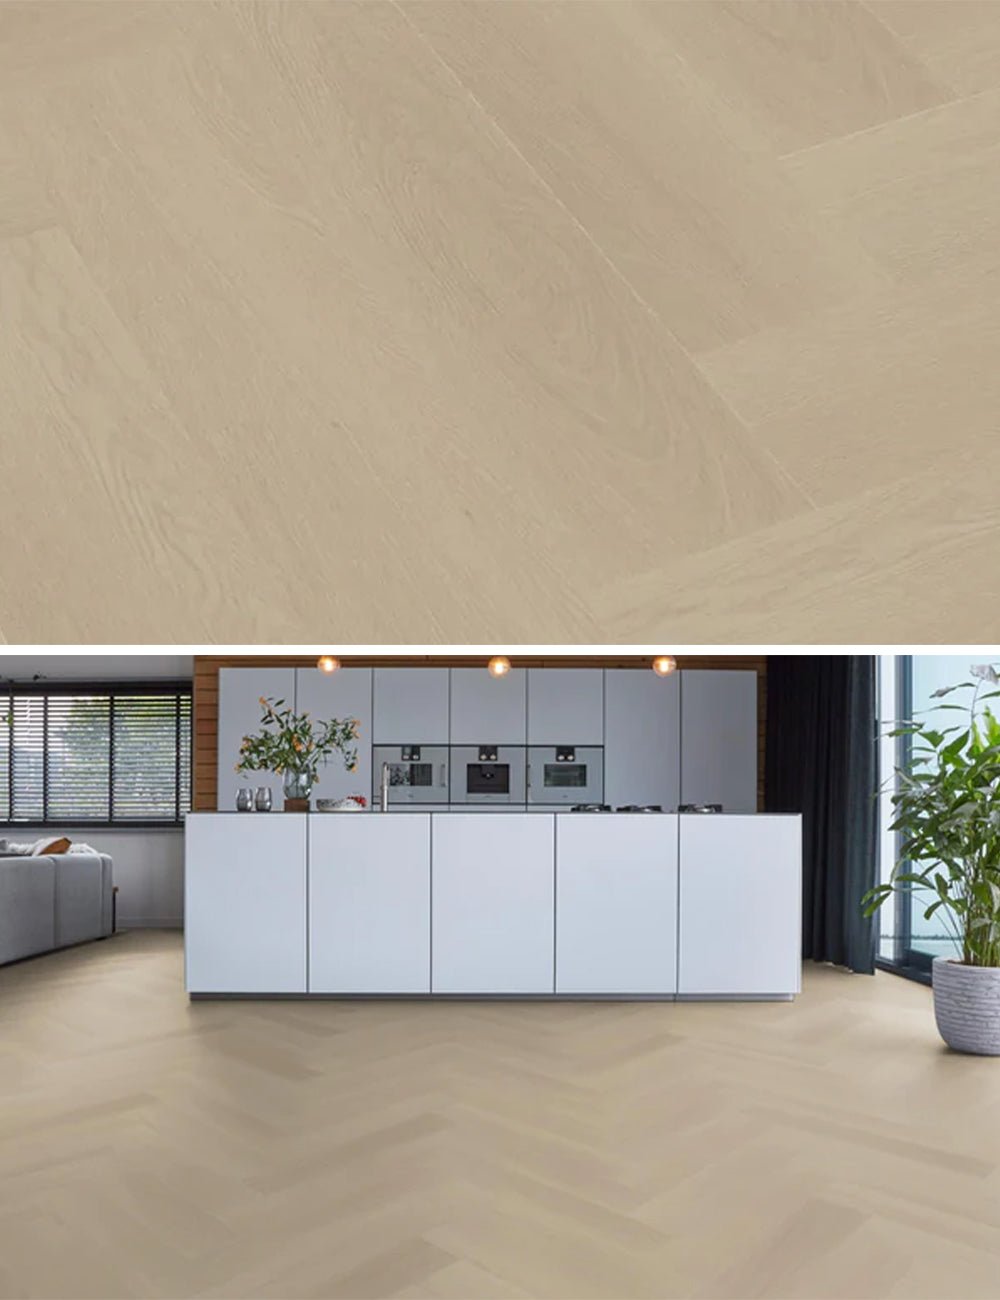
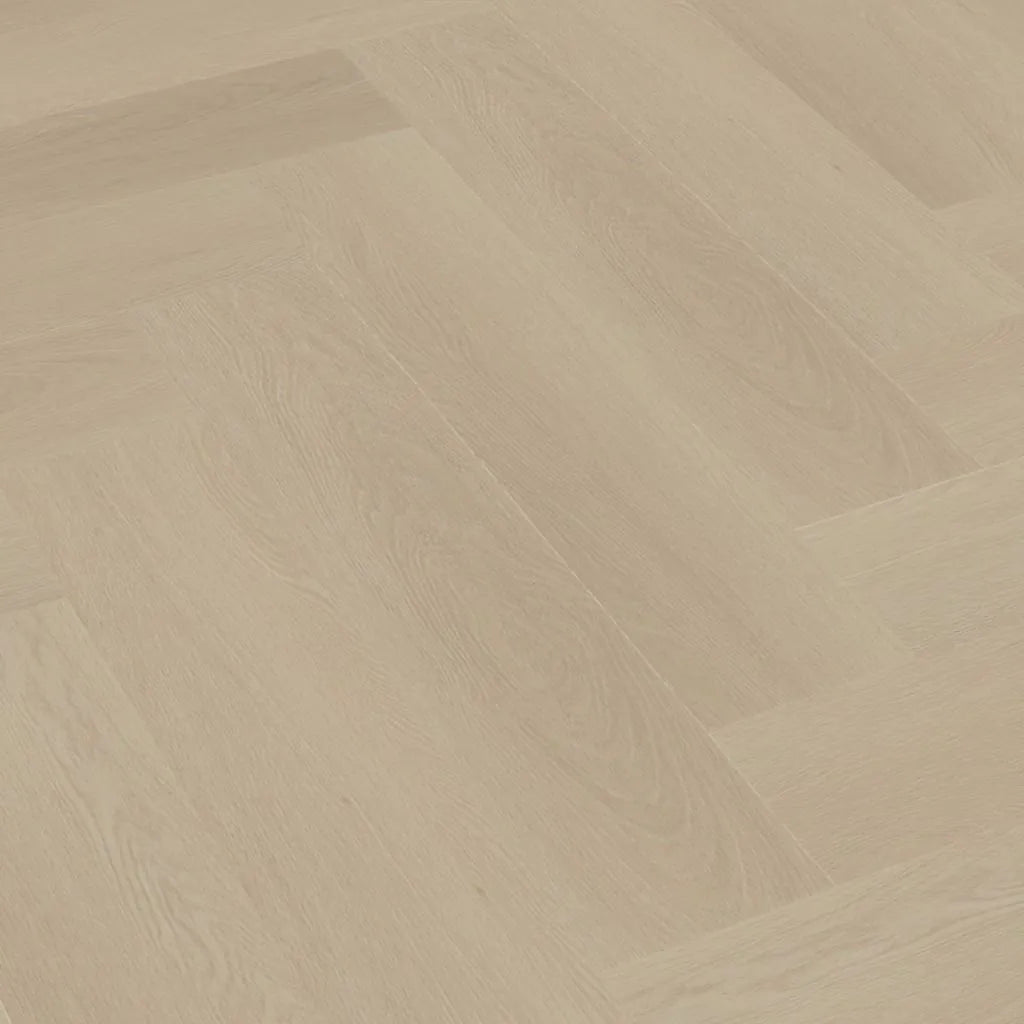
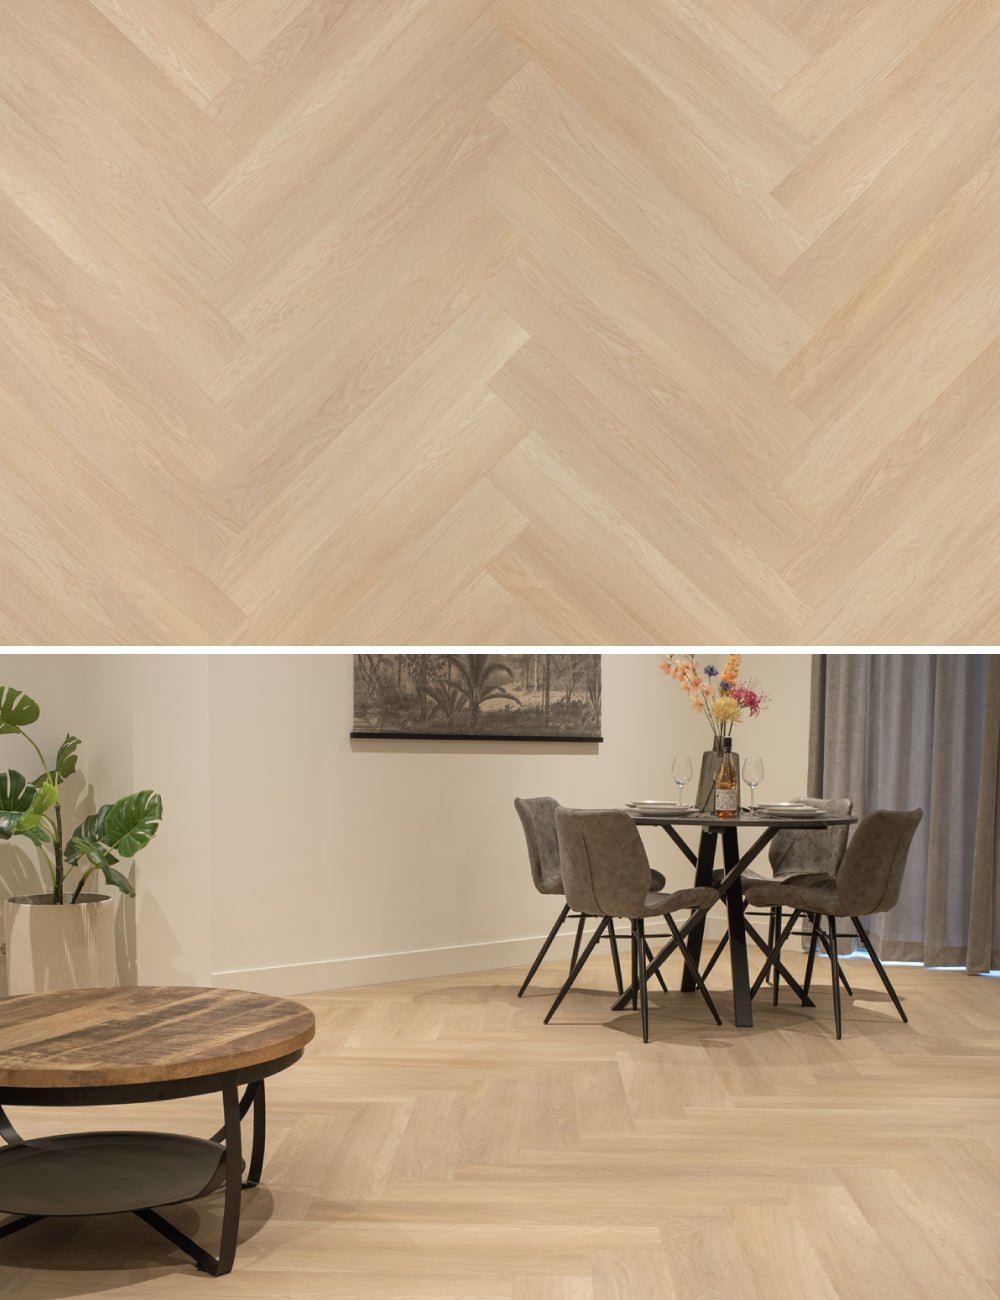
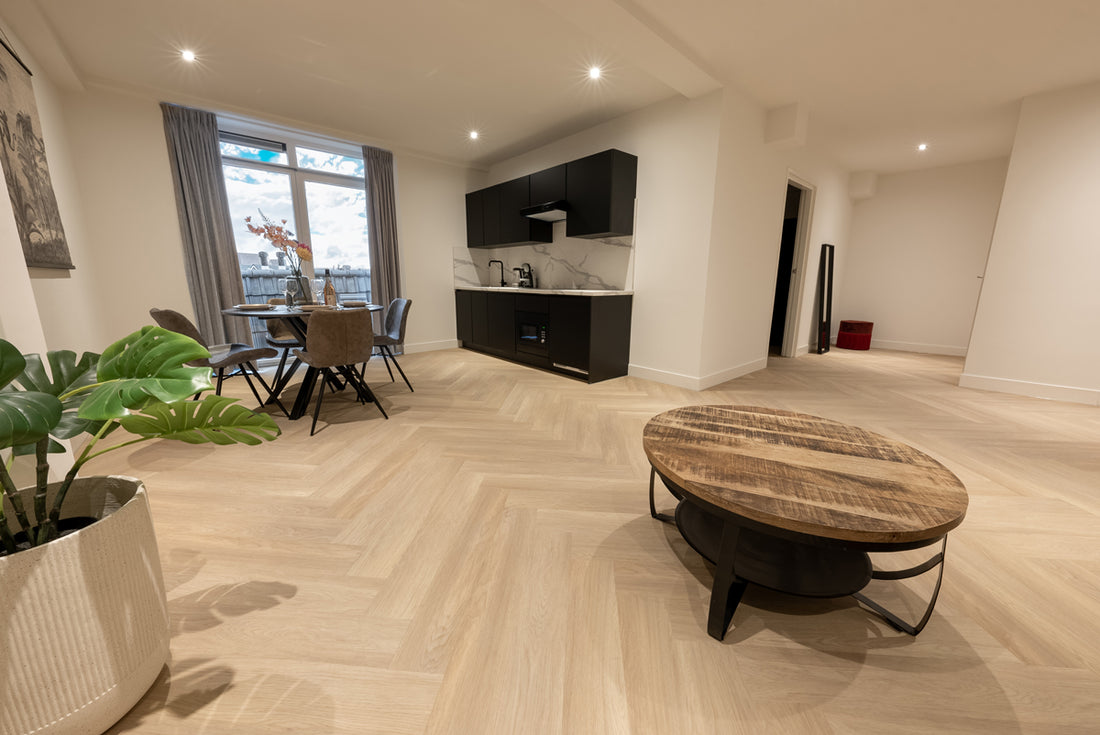
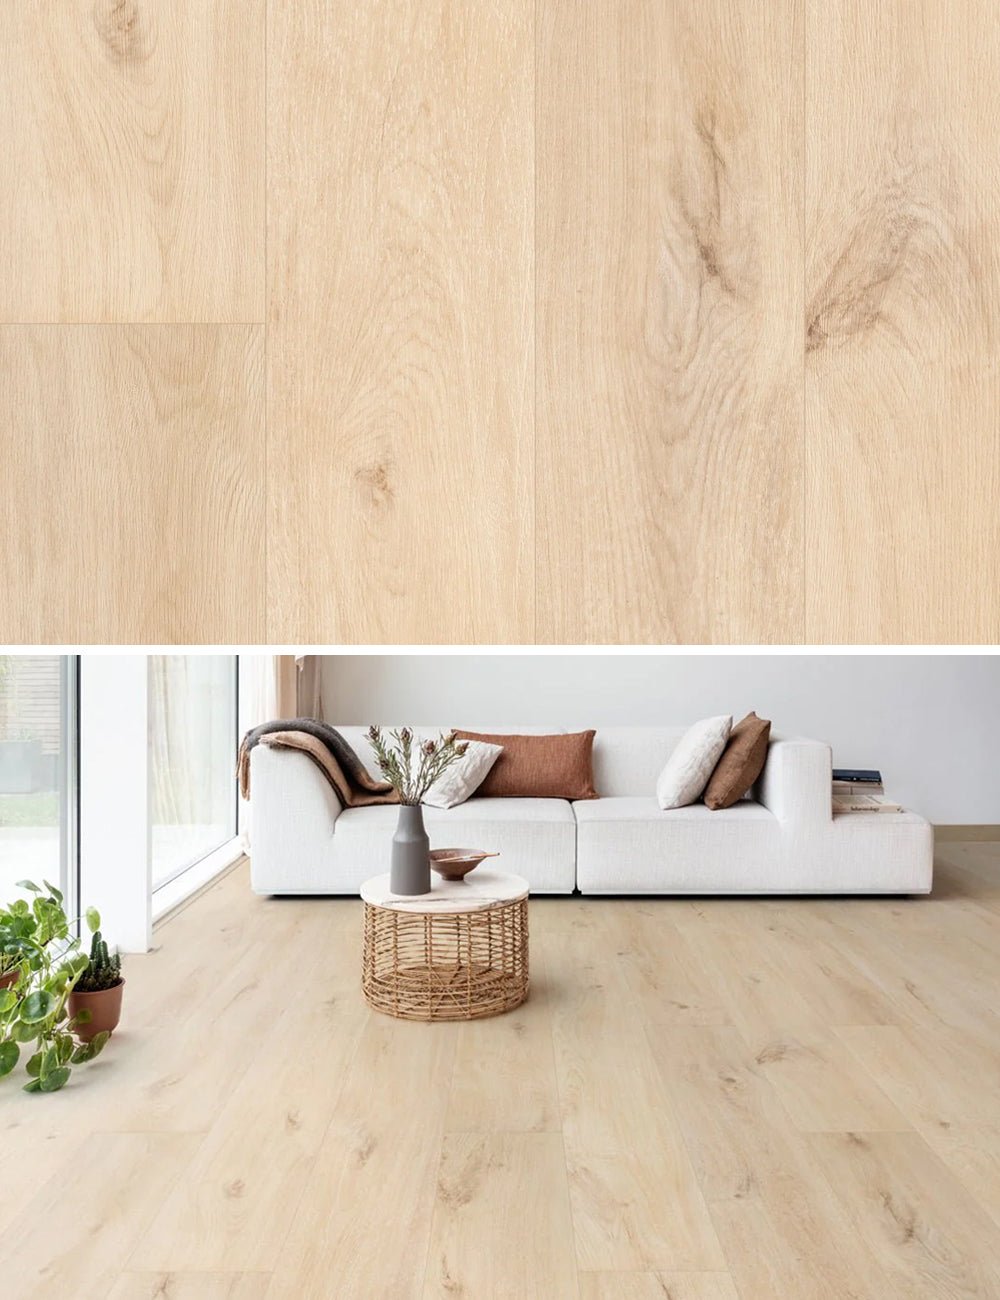
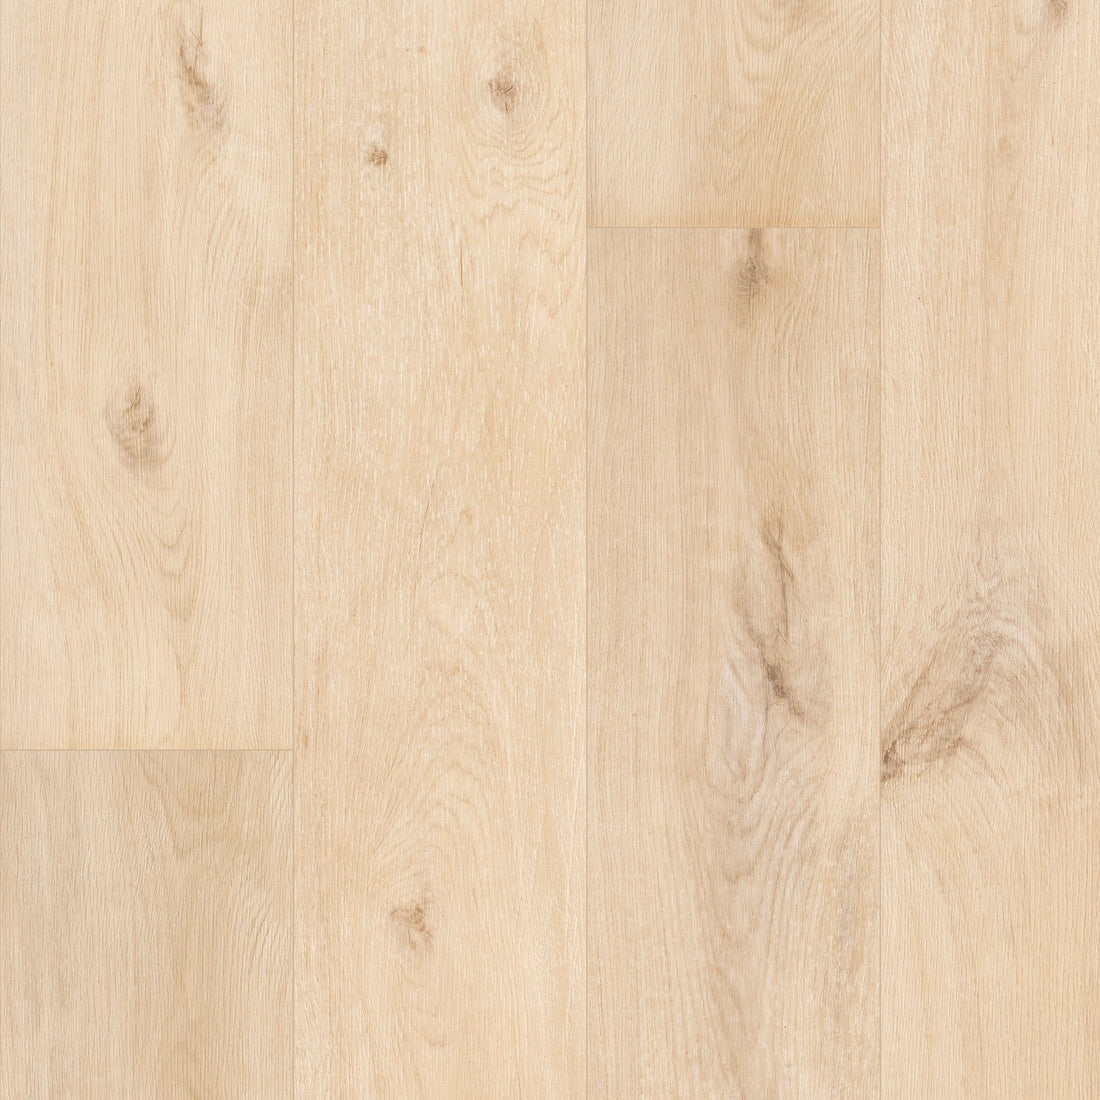
Are you convinced and are you going to work on laying a herringbone laminate floor yourself? Then it is important to read up on the steps to be followed in this process. The laying a herringbone laminate floor is not something you do for a while and is also something you want to do neatly and well in one go. To help you with this fun project, we have put together a handy step-by-step plan for Solza.nl, a handy step-by-step plan for ]laying herringbone laminate . This way you too can get started with this fun job with certainty. So nice!

1. Materials needed for the job
As with any job in the house, laying herringbone laminate[012756 012755] requires laying with the right, and especially the right amount, materials. Which materials should you think of and how do you determine which materials you will need for this? You can read that below.
Choose the right subfloor
First of all, it is necessary to choose a correct subfloor separately from the floor. In some cases, it is necessary to work with a specific subfloor of the same brand as the herringbone laminate itself, for example, to ensure that the manufacturer's warranty remains valid.
But in other cases it may be necessary to go for a specific subfloor if you want the floor to meet certain requirements regarding, for example, the sound. For example, do you live in an apartment on 3 high? Then it is probably necessary to choose a subfloor that has a damping effect for your neighbors below. In addition to hassle with the landlord, this also prevents you from ending up in a new episode of The Driving Judge.
In addition, it may be that you have underfloor heating in the screed, then it is necessary to choose a subfloor that is suitable for underfloor heating . In all cases, however, it is necessary to choose a subfloor for laminate and not a subfloor for click PVC or other types of flooring.
Tip: Read our blog here about which subfloor you can best choose in which situation.
Calculate square meters of floor (m2)
Are you going to lay the floor in several rooms? Then it is desirable to calculate the required number of square meters per space. Do you have a living room of 9m by 4m and a corridor of 1.5 m by 4m? Then you calculate the area per space and add it together. In this case you have a living room of 36m2 and a corridor of 6m2, so together 42m2.
> Read more about calculating the required number of m2 of floor here.
Calculating cutting loss of specific floor
However, when you have calculated the number of square meters for the herringbone laminate, you are not quite there yet. When laying a floor, there is always a loss of cut. Because you have to make the shelves custom to fit into the space, think of doorposts, heaters and the like, you lose pieces of shelf that you can no longer use. The percentage of cutting loss that must be used per floor differs per type of floor. When we look at herringbone laminate, it is wise to work with a cutting loss of 15% to 18%.
> Read more about calculating the required number of m2 of floor here.
Calculate skirting boards for finishing herringbone laminate
Have you chosen the type of subfloor and have you calculated the required number of square meters of herringbone laminate including cutting loss? Then it is necessary to look at which skirting boards you want to place on them as a finish and how much of this you need exactly. To calculate the number of linear meters of plinth that is needed for your job, use the perimeter of the room in which you are going to lay the floor. In addition, it is also important to take cutting loss into account. For skirting boards, it is generally advised to take into account about 5-10% cutting loss.
Some popular types of skirting boards that we see are for example;

2. Preparation for herringbone laminate laying
Have you ordered your desired floor from Solza.nl and is delivery coming? Then it is necessary to prepare a few steps so that you can start smoothly with the herringbone laminate laying.
Clearly separate left and right parts
Herringbone laminate is supplied in two distinguishable parts, namely left parts and right parts. It is necessary to keep them separate at all times. There are always as many left as right parts supplied, check this carefully.
Acclimatizing, what is this and why is it needed?
When laying herringbone laminate, you have to deal with natural materials and therefore with materials that work, also called shrinkage or expansion. For this reason, it is therefore necessary to acclimatize the floor for a certain period, read generally at least 48 hours, in the room where you want to lay it. This allows the materials to get used to the space and the floor will work less after laying.
Read more about acclimatizing laminate floors here!
Prepare the room for laying floor
It is of course important that you also prepare the room for laying before you get started. Make sure that the entire room is empty and you have enough space to work. In addition, it is necessary that the room is made dust-free as far as possible. Of course, sawing has to be done during the job and so it is wise to make room for this in another place in or around the house, at least not in the room where you want to lay. It is also important that any unevenness on the surface is eliminated. Many subfloors can eliminate a few millimeters of unevenness, but when this becomes 3mm or higher, this is often a difficult case.

3. Laying subfloor
In an earlier step, you have chosen the right subfloor for your situation. Whether this has become a special noise-reducing subfloor, a somewhat cheaper subfloor or a special subfloor for apartments, it is necessary that you lay the subfloor tightly and as evenly as possible in the room. When laying a herringbone laminate floor, relatively many connections are created in the wood and therefore a good stable base is necessary.
4. Determining the laying direction of the floor
It may sound somewhat obvious, but determining the laying direction of the floor is extremely important. After all, the laying direction determines exactly what appearance the floor gets in the room. Make sure you think carefully about the laying direction and what effect this has on the space. For example, is there a certain laying direction that makes the room appear optically larger or is there a laying direction that provides a more luxurious look? Your taste is of course leading in this.
5. Create a starter point and possibly copy it
With a delivery with herringbone laminate, one or more starter points are generally included. These starter points serve, as the name already gives away a bit, as a starting point for laying the herringbone laminate floor. The starting point consists of five planks that form a first triangle for the herringbone pattern. Are you not satisfied with the included starter points? Then make sure you copy these one-on-one so that you have enough to start with.
6. Herringbone laminate flooring
Make sure that the floor around keeps at least 8mm (unless otherwise indicated for the specific floor) away from walls or other obstacles. This way the floor has enough space to work. Have you been able to lay the starter points neatly? Then it is now important to lay a left and a right part alternately.

7. Installing skirting boards
Finally, it is necessary to place the skirting boards ordered with it. It is useful to clean the room well before installing the skirting boards, so that the skirting boards can adhere well and there is no dust in the way. For cleaning herringbone laminate floors, we recommend the use of James floor cleaner.
See, experience and experience herringbone laminate ? Which can!
Would you like to see, experience and experience your future floor before you make a purchase? That's possible at Solza! In Alphen aan den Rijn we have put together a showroom for you where you can look at the possibilities and benefits of our various products to your heart's content. Try walking across the floor in our showroom to experience this or see how the floor you have in mind does with a certain light. In addition, there is always an expert in our showroom who can help you answer any questions and who is happy to provide you with useful advice. This way you can be sure of your purchase. So nice!


